What to Expect During a Cabinet Installation Project
Starting a kitchen renovation is an exhilarating journey that breathes new life into the heart of your home. While the design phase focuses on aesthetics and functionality, the physical installation requires careful preparation and realistic expectations. Understanding the step-by-step process helps homeowners navigate the upcoming transformation with complete confidence.
Preparing Your Kitchen Space
The first phase of any professional project involves clearing the area to allow installers a clean slate. You should remove all items from your existing kitchen cabinets and clear off the countertops entirely. This prevents damage to your items and provides the crew with the necessary physical space to operate heavy machinery and large materials. Providing a clear path through the house minimizes the risk of accidental scuffs on your walls or floors during the demolition.
Moving appliances is usually the next requirement to provide access to the wall surfaces. If your project includes new flooring, the old materials must be stripped away before the installation begins. Professionals will often lay down protective coverings on the paths leading to the kitchen to keep your home clean throughout the heavy foot traffic. A dedicated staging area for tools and old debris helps maintain a structured workflow and keeps the rest of the residence livable.
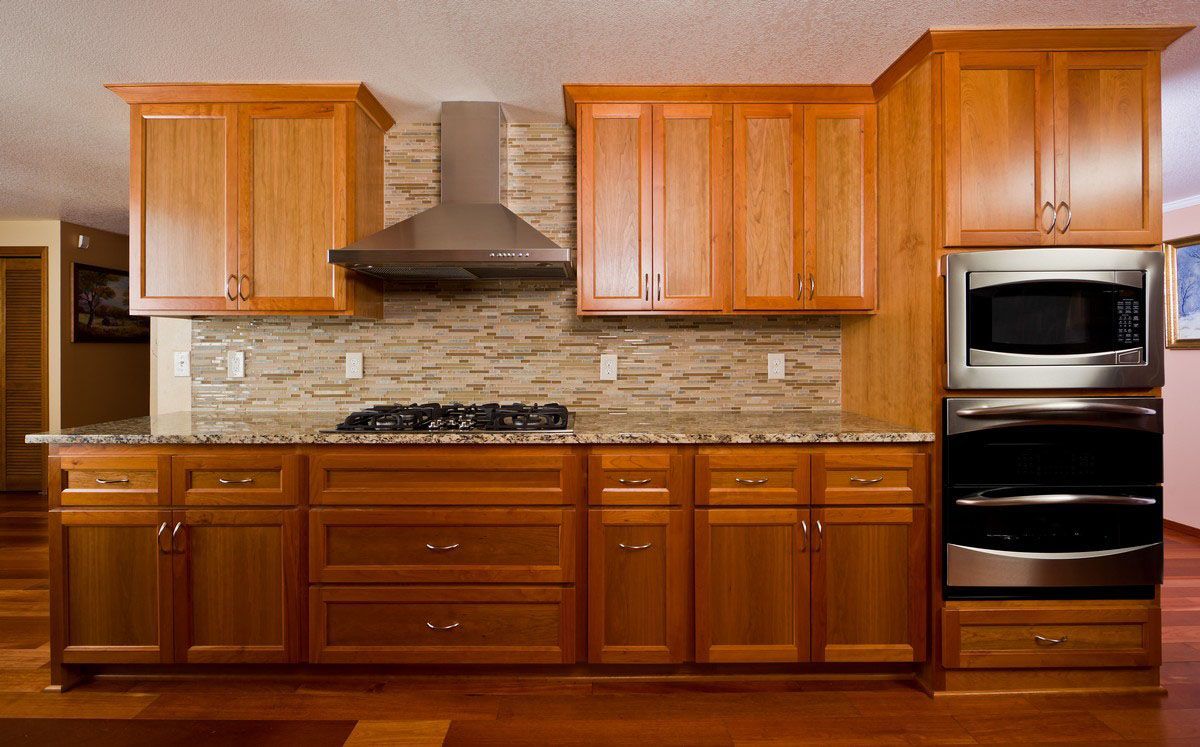
According to Houzz, cabinets are a big deal for kitchen upgrades, with 79% of people including new cabinets with doors. This statistic highlights why the preparation stage is so vital, as the volume of components arriving at your home is often significant. Once the space is empty, the installers will inspect the walls for levelness and mark the studs to create a secure foundation for the new storage units.
Managing the Delivery Process
The arrival of your new kitchen cabinets marks a major milestone in the timeline of the renovation. Large trucks will deliver the pre-assembled or flat-packed units, and you will need to designate a staging area. This space should be climate-controlled and dry to prevent the wood from warping or absorbing moisture from the air. Maintaining a stable temperature is the best way to keep the natural materials in peak condition before they are mounted.
Installers will perform a thorough inventory check upon delivery to verify that every box matches the design plan. They look for any transit damage or manufacturing defects that could delay the timeline if not addressed immediately. Having all components on site before the work starts prevents unnecessary pauses and keeps the labor schedule on track for completion. Verifying the quantity of hardware and specialized trim pieces at this stage prevents frustrating delays during the final hours of the project.
You should expect a fair amount of cardboard and packing material to accumulate during this phase. Professional teams usually coordinate the removal of these scraps so your garage or driveway remains functional. Organization during delivery is the secret to a fast installation, as it allows the crew to grab the specific pieces they need in the correct order. The team will likely group the units by wall section to streamline the physical hanging process once the room is ready.
Executing the Layout Plan
The actual installation begins with the hanging of the upper kitchen cabinets to prevent the base units from being in the way. Installers use specialized jacks or supports to hold the heavy boxes in place while they drive screws into the wall studs. Precision is the priority here, as even a small fraction of an inch can cause alignment issues later. Securing the uppers first also provides a safer environment by keeping the floor space open for the installers to move around.
Once the uppers are secure, the team focuses on the base units. They must account for uneven floors by using shims to create a perfectly level surface for your future countertops. This part of the process involves constantly measuring and adjusting to accommodate plumbing lines and electrical outlets that must pass through the back of the wood frames. Installers take great care when cutting these access points to keep the interior of the unit looking clean and professional.
Connecting the individual units creates a unified look that defines the room. The installers use clamps to pull the face frames tight before joining them with hidden fasteners. This creates the structural integrity needed to support heavy stone counters. Throughout this stage, the room will be a hub of activity with drills and levels being the primary tools in use. Every joint is double-checked to confirm that the entire run of storage is plumb and square before the final anchoring.
Installing the Finishing Touches
After the main boxes are anchored, the focus shifts to the detailed elements that define the style of your kitchen cabinets project. This includes the attachment of doors and drawer fronts, which require fine-tuning of the hinges. Professionals spend a significant amount of time adjusting these components so that all gaps are uniform and every door hangs perfectly straight.
Trim work, like crown molding and toe kicks, provides the polished look that separates a professional job from a basic one. Installers cut these pieces on site to account for the specific angles of your walls and ceiling. These finishing strips hide small gaps and create a seamless transition between the new storage units and the house's existing architecture. Achieving a tight fit with these decorative pieces requires a high level of carpentry skill and specialized cutting tools.
Internal accessories such as pull-out trash cans or spice racks are also integrated during this phase. The crew tests every moving part to verify that the slides operate smoothly and do not rub against the frames. This is the stage where the kitchen starts to look like the finished photos you see in design magazines, as the hardware and decorative panels finally click into place. Adding the final knobs and pulls requires extreme precision to make sure every handle is at the same height.
Completing the Final Walkthrough
The final stage of the project involves a meticulous cleanup and a formal inspection of the kitchen cabinets with the homeowner. The lead installer will wipe down the interiors and exteriors to remove any construction dust or adhesive residue. You should take this time to open every door and pull out every drawer to confirm that the operation meets your standards.
During the walkthrough, you can point out any minor adjustments or touch-ups that might be needed. Sometimes a hinge needs an extra turn, or a piece of trim requires a tiny bit of wood filler to look perfect. This collaborative review is the best opportunity to ask questions about the specific mechanical features of your new storage system so you can be satisfied with the craftsmanship and the final aesthetic.
The installers will also provide you with guidance on how to care for your new kitchen cabinets to maintain their beauty for years. They might recommend specific cleaning products or explain how the soft-close mechanisms function. Once the final sign-off is complete, the workspace is fully cleared, leaving you with a functional, beautiful kitchen ready for daily use. Professional crews take pride in leaving your home as clean as it was before the project started.
Watching your vision come to life is a rewarding experience that justifies the temporary dust and noise of construction. By understanding these five key phases, you can prepare your home and your schedule for a smooth transition. Professionally installing kitchen cabinets results in a durable, stunning space that enhances your home value. Elevate your home’s aesthetic and functionality by visiting Monarch Cabinetry Springfield to discover how expert installation can transform your kitchen into a masterpiece.


Share On: